Monday, January 28, 2013

Winter Playdough Fun

Yesterday, Little O woke up with the beginnings of a cold. Ugh. Pete and I decided we better play it safe and stay home so we didn't spread it to all our friends. We needed something to do that would keep Little O quiet and happy. Playdough, of course!!


I whipped up a batch of our favorite no-cook playdough. I decided to keep it white this time since we're playing with all things winter right now (winter sensory bin, snow man counting, snowflake sorting, etc.). So with our white playdough, we decided to make snowmen. I had a whole bunch of accessories to decorate our snowmen up in my craft room. Buttons, sequins, fabric strips, pipe cleaners, beads, jingle bells, googly eyes, and mini bows. I brought them down and introduced them to Little O.


I made a traditional snowman (with a bow because I wanted her to be a girl), Pete made a snowmonster.


Little O made her own version. She used googly eyes at first, but switched them out for buttons later. She also used some brown pipe cleaners and skewered her snowman. They sort of look like arms!


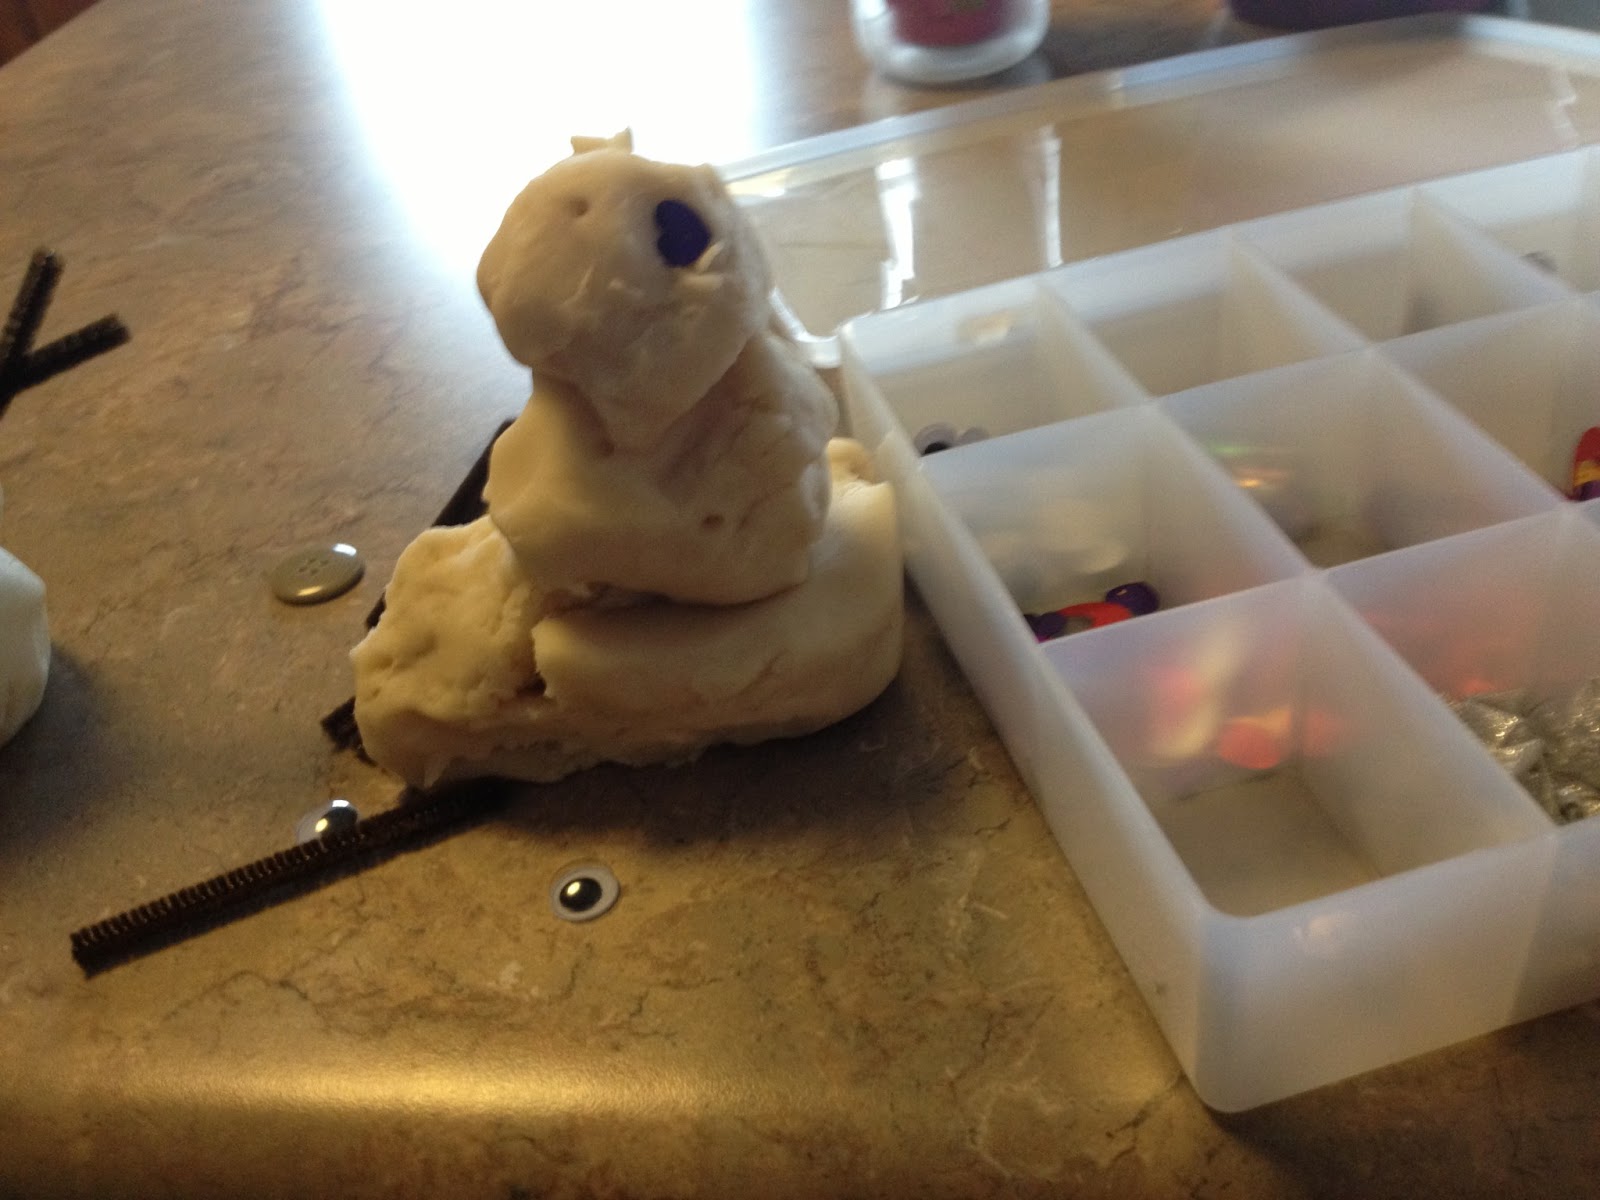
 After a while, we started talking about all the animals that live in the snow. Little O is obsessed with anything animal lately (well, always, really). So I made a polar bear. She said and signed bear. And Pete made a penguin.

We had so much fun as a family with this activity. I've kept all the accessories downstairs so we can create more snow animals with white playdough this week. I'm also thinking we should make pretend sugar cookies and decorate them with sequins and glitter. Check out some of our other winter-themed activities here.

Thursday, January 24, 2013

Art Party Activities for Toddlers

Little O is going to be 2 in less than a month! WHAT??? Where did the time go? I feel just a few months ago I was planning her 1st Very Hungry Caterpillar birthday party. I can't believe that was a whole year ago.

I showed you the invitations I made for this year's art party last week. I've finalized my plans for the arts and craft projects for the toddlers attending the party, and I created signs for each station.


The plan is to open up all three stations at the same time and let the kids move freely from one to the next at their own pace. Each activity can be child directed with parental support for those who need it.


At the drawing center, I am planning to cover the whole table with white butcher paper and tape it down underneath. Little O has a hard time keeping the paper still when she's coloring, so I thought this would be the best solution, plus, it would keep the table clean. For drawing supplies, I'm providing crayons and markers in assorted colors, stamps and a variety of stamp pads, and stickers.

I'm really excited about the sculpting table. I'm making homemade playdough (since some of Little O's friends still like to experiment by tasting things). This is my favorite no cook playdough recipe from The Imagination Tree. I like to add the color to the water before adding it to the dry ingredients. I found this keeps my hands clean. In addition to the playdough, I'll provide a selection of cookie cutters, rolling pins, and other playdough toys. For an extra element, I'm planning to add pipe cleaners and feathers so the kids can make some interesting creatures.

The last table is the painting table. I was going to make homemade paint, but I haven't found a recipe that I love yet. So I opted for washable tempera paint. I found some really awesome bottles that have glitter mixed in. And of course I'll have the basic primary and secondary colors as well.

Earlier this week, I went shopping for some of the supplies for the stations. I was really excited when I discovered cute little smocks (just the right size for toddlers) at the Dollar Tree. I had been planning to make smocks for each child as the party favor, but there was no way I could make them for $1. So I went ahead and picked up 12. We may not have all 12 kids attend the party, but I'll keep the extras for play dates at our house. While the invitations did say to wear "art clothes," I'm sure most of the parents will be happy to have a little smock for their kiddos to wear.

I'm getting really excited about Little O's art party. She's going to love it!

Saturday, January 19, 2013

Versatile Blogger Award

I have been selected for a Versatile Blogger Award by T'onna @ Navy Wifey Peters. Woohoo! This is my first blogging award, and it feels awesome. I first discovered T'onna when she made these adorable Florida Gator Sock Monkey Hats. If Little O didn't have such an enormous head, I would snap one up so fast!

Anyway, back to the award...

Here are the rules:
  1. Thank the person who gave you the award (of course)
  2. Include a link to their blog.
  3. Select 15 bloggers that you've discovered recently or follow regularly.
  4. Nominate those 15 bloggers for the Versatile Blogger Award (include a link back to your post).
  5. Finally, tell the people you nominated (and other blog readers) 7 things about yourself.

7 Things About Me:

  1. I'm a third generation Gator. My grandpa went there, my dad went there, and I went there. I truly do bleed Orange & Blue.
  2. My baby is about to turn 2. I can't believe it.
  3. I have too many pets. 3 cats, 1 dog, and 1 bird (who just turned 20).
  4. My favorite color is orange, and I have an orange SUV.
  5. I am only truly happy when I'm busy, but I complain about being busy a lot.
  6. I recently joined our local chapter of the Modern Quilt Guild, and it's helping me to learn a ton of new sewing techniques. (I recently learned to sew a zipper).
  7. I get ridiculously excited when people comment on my posts. Nerd alert!
Nominees:

Friday, January 18, 2013

Valentine's Advent Calendar for Toddlers

Last year I made my husband a Valentine's Day Advent Calendar to count down the days to Valentine's Day. I decorated 14 white craft bags with paper, stickers, stamps, and other crafting supplies. Inside each bag, I included a note about why I love him and some candy. It was great. He thought I was really romantic, and it gave him two whole weeks to come up with something awesome for me!

I saved the bags because I really love how they turned out, and I'd love a chance to reuse them. This year, I'm going to give them to sweet Little O. I won't set them all out at once because at almost two, she isn't old enough to understand waiting to open one each day. I'll just give her a new one every day. And instead of candy, although I think a piece here or there is ok, I'll fill them books about Valentine's Day, supplies for small Valentine's crafts, and other Valentine's Day related activities we can do together as a family.

I will have to make three new bags, as #1, #10, and #14 are definitely geared toward a husband.

Once I get them filled, I'll post what I put in each one and what the new #1, #10, and #14 bags look like.

Have you made any

Thursday, January 17, 2013

Art Party Invitations

I can't believe it. Little O is turning two next month! She's really into arts and crafts right now, so I decided to throw her an art party. It will be at a local community center because I really don't want to have 10 toddlers crafting in my house!

Here are the invitations I made for her party.


I was inspired by some I found on Etsy. I added the little poem at the top, and included all the pertinent information. Except the RSVP date. I can't believe I forgot that!

To make these I designed the palette on my computer with all the text. Then I printed them out four to a page on 8.5x11" brown card stock. I like that the card stock resembles cardboard.


I used scissors to cut out each palette, including the outside notch. I used an exacto knife to cut out the hole. I just free-handed it. Actually, my mom did the first one (pictured below), and then I took over.


After all the invitations were cut out, I used glitter glue pens to make blobs of paint. The one that inspired me used cut out glitter card stock, but I didn't want to cut out all those pieces. Plus, I didn't have glitter card stock. But I did have glitter glue pens left over from my felt Christmas tree. I like the way the glitter glue looks anyway.


I let the glitter glue dry overnight. I was pretty blobby, so I wanted to make sure it was completely dry before gluing the palettes on the background and stuffing them into envelopes.

Once they were dry, I used rubber cement to attach the palettes to some cute polka dot paper I had on hand. I used a piece of red card stock 1/4" larger to frame up the polka dots and give the invitations some much-needed sturdiness.


Here they are. The finished product. I'm really pleased with how they turned out.


I'm not sure which I like better, these or the Hungry Caterpillar invitations I made last year for Little O's first birthday party. What do you think?

Saturday, December 29, 2012

Top 10 of 2012


It's been fun for me over the last year to watch which of my crafts and projects have been the most popular. I thought I'd share the Top 10 of 2012 before we ring in the new year.


  1. "Thank You for Helping Me Grow" Teacher Appreciation Gifts
  2. Felt Christmas Tree
  3. DIY Baby Instruments
  4. Owl Quilt Top
  5. Tutorial: Very Hungry Caterpillar Invitations
  6. Tutorial: Very Hungry Caterpillar Bug Jars
  7. Christmas Wreath with Initial
  8. ABC Quilt
  9. Valentine's Day Advent Calendar
  10. Quilted Checkbook Cover
I can't wait to see what 2013 will hold for craftiness here at Olive's Originals!

Saturday, December 22, 2012

Small Zipper Wristlet


I had to make a zipper pouch for the January swap for the Modern Quilt Guild, and I decided I would make two. I made this pretty little zipper wristlet for a friend of mine for Christmas. I just love the colors and the metallic in the fabric. I found the tutorial for this pouch on Pinterest, and you can see it here.

I bought the fabric in bundles at Hobby Lobby. I don't usually buy fabric this way, but I wanted 12 different fabrics that coordinated, and I had a coupon. When I saw these prints, I knew my friend would like them too. The jelly roll came with 10 prints. I had the black with white polka dot in the center and I bought a 1/4 yard of the black and white paisley (top right corner). I also bought another bundle of larger pieces of coordinating fabric for the lining and pockets inside.

I will definitely make this pattern again. They make such cute gifts (I'm thinking teacher gifts at the end of this school year). But next time I won't trim the quilted portion until I finish the lining, and I will trim them together to make sure they are exactly the same size. My quilted side turned out quite a bit smaller than the lining because the fabric pulled up during quilting. Also, I will shorten the strap about a 1/2 inch. I accidentally sewed the end of the strap into the seam on the opposite side BOTH times I made this pouch.

I really liked the instructions she provided for sewing a zipper. This was my first attempt at a zipper, and following her instructions worked like a charm! I'm not scared of them any more!
I added the charm to this one because my friend really likes peacocks, and I thought it gave it a little something extra.

This post is featured!

Related Posts Plugin for WordPress, Blogger...